The Gallery is an extra-like menu that features a screen that can be interacted in order to view full body renders of the animatronics from Five Nights at Freddy's VR: Help Wanted. The Gallery returns in a newer fashion in Help Wanted' sequel, Five Nights at Freddy's: Help Wanted 2.
Appearance[]
Help Wanted[]
The Gallery features two screens, one on the left and one on the right. The screen in the right features most of the animatronics that were present in the base game. In the left screen, it features the Withered Animatronics and the ones present in the Curse of Dreadbear Halloween DLC.
The Gallery also features a round stage where the selected animatronic is featured. A switch is available in front of the right screen in order to rotate the stage, helping the player to view the back and side portions of the selected animatronic. Upon selecting another animatronic, the stage is closed by a red curtain then opened again with the new selected animatronic in the stage.
Help Wanted 2[]
The Gallery takes on a new appearance in Help Wanted 2, as it is now a permanent part of the hub world. It is a long stage with a small circular indent that will lower and bring up each animatronic to be displayed. Behind the display area is a large red curtain, which will actually open up to display the larger characters, being DJ Music Man and Head Chef Bot. Whichever animatronic is chosen to be displayed will remain on the stage until the player enters a level.
In front of the stage are two tables to the left and right of the player. One table holds a device that allows the player to go through and select the animatronic they wish to display. To the left of the player is a standee for the six Faz Force figurines; a set of collectables needed to get one of the two endings.
Unlocking[]
In Help Wanted, the Gallery can be unlocked upon completion of the Pizza Party level from Night Terrors. A button in the main hub will appear that can transport the player to the Gallery. The DLC characters will also be featured in the gallery, even if the Curse of Dreadbear DLC has not yet been completed in it's entirety.
In Help Wanted 2, the Gallery can now be accessed at all times, with each displayable animatronic being unlocked via beating levels, and earning the characters via the Cupcake Bonanza machine.
Animatronics[]
Help Wanted[]
These are the animatronics available in the gallery in order of the menu grid:


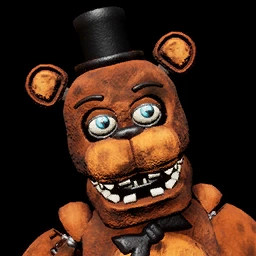 Withered Freddy |
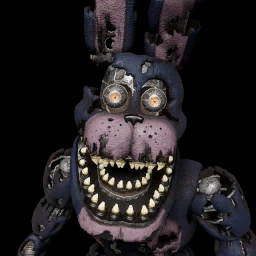
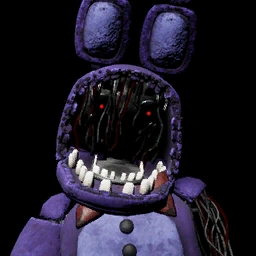 Withered Bonnie |
 Withered Chica |
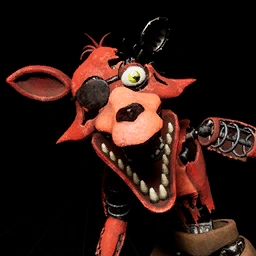 Withered Foxy |
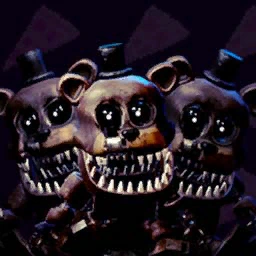
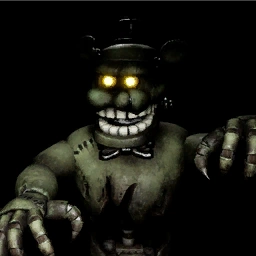
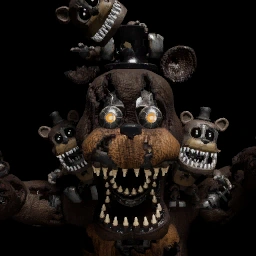 Nightmare Freddy |
 Nightmare Bonnie |
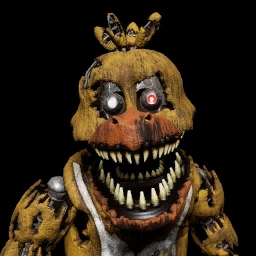 Nightmare Chica |
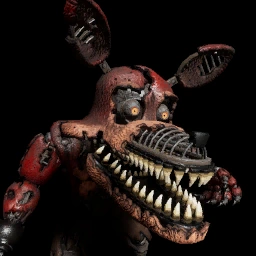 Nightmare Foxy |
 Dreadbear |
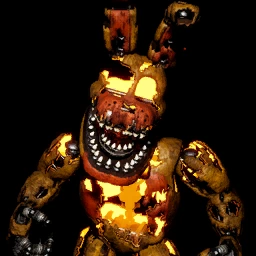 Jack-O-Bonnie |
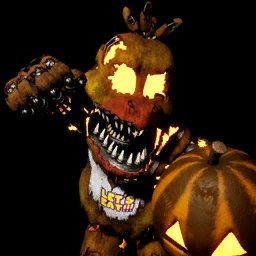 Jack-O-Chica |
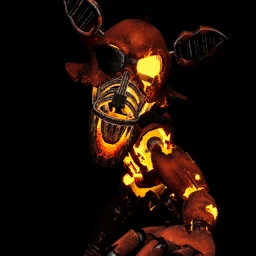 Grim Foxy |
Help Wanted 2[]
These are the animatronics available in the gallery in order of selection:


Note: Credits to the Five Nights at Freddy's Wiki for the Gallery table format.
Trivia[]
- The Gallery does not contain all of the animatronics present in Help Wanted, such as Glitchtrap and the Phantom Animatronics.
- Despite this, characters like Nightmare Fredbear's Endoskeleton, The Freddles, and character plushies were added.
- The gallery doesn't house any of the hardmode variants, such as Shadow Mangle, Virtualtrap, etc.
- Originally, in the Plushies gallery, there is noticeably no Toy Bonnie plush, and instead there were two Bonnie plushies.
- This was fixed in a later update.
- The Gallery icons are actually cut from their model pose.
- The DLC characters' gallery icons lack the purple pizza background the other characters were given.
- The only characters from the Curse of Dreadbear DLC to not gain a gallery spot were the Plushkins.
- This may be the case due to the fact that the Plushbabies already had a spot in the gallery.
- The Gallery was set to return in Security Breach, but was ultimately scrapped and never fully implemented.
- Despite both the yellow and blue variants being present in the game, neither are featured alongside the regular PlushBaby in the gallery.
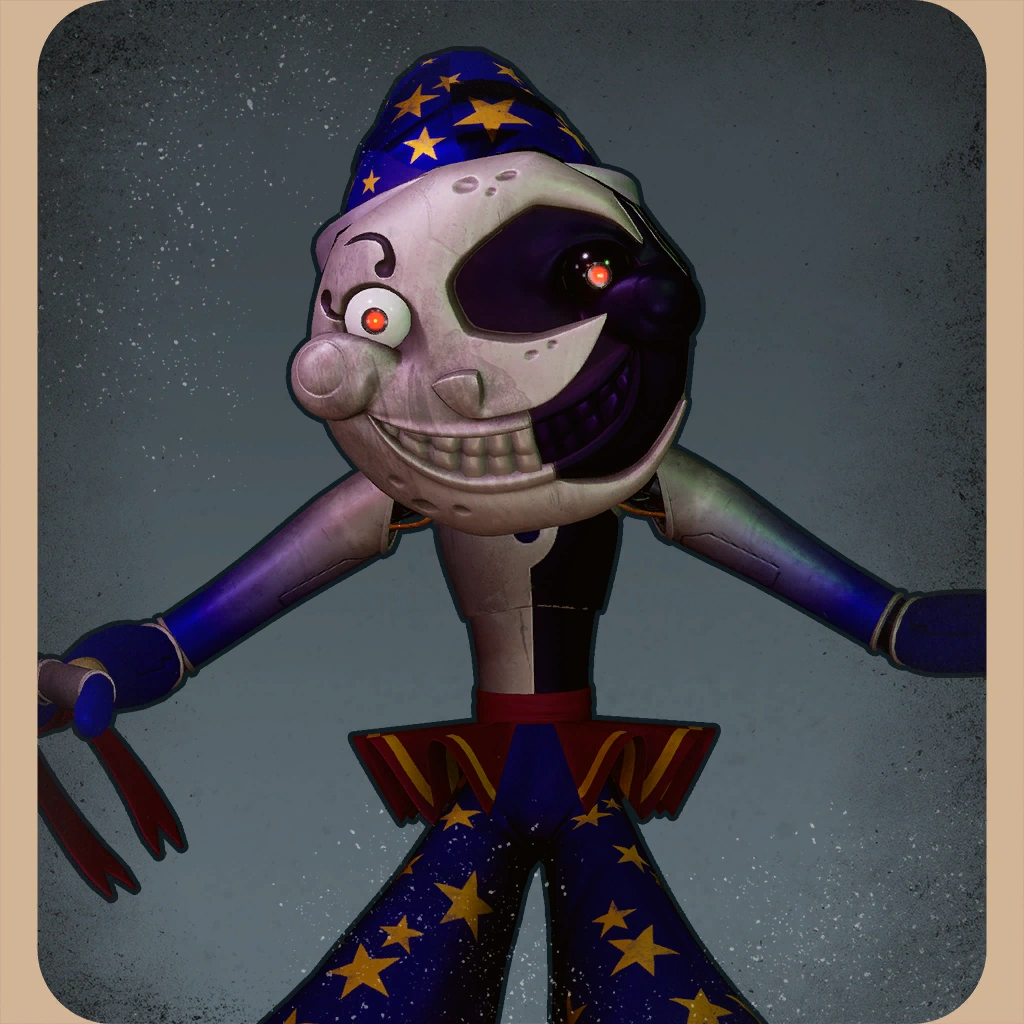
- In the gallery, as well as his select icon, Moon's hat is misplaced to be positioned behind his mask rather than on top of it.
- Moon's eyes are also missing their glow in his statue pose.
- Despite neither characters appearing physically in-game, both Monty and Glamrock Bonnie have gallery statues.
- While Bonnie's makes sense, as he does have a level themed around him, Monty's is strange, as the character has no levels, and only appears as a poster and plushie.
- Unlike the other Glamrock animatronics, Roxy appears dirty in her statue.
- While this is likely due to her appearing dirty in her level, the same strangely does not apply to Chica's statue, despite her also appearing dirty in her level.
Gallery[]
Screen 1[]
")
")
")
")
")
")
")
")
")
")
")
")
")
")
")
")
")
")
")
")
")
")
")
")
")
Screen 2[]
")
")
")
")
")
")
")
")
")
")
")
")
| Game Mechanics | |
|---|---|
| General | Battery • Cameras • Exotic Butters • Faz Tokens • Flashlight • Freddy Fazbear Mask • Shocker |
| Help Wanted | Prize Counter • Tapes • The Gallery |
| Special Delivery | The Shop • E-Mails • Events • Parts • Remnant • Skins • Player Profile • Workshop • Noise Meter • Photo Booth Mode • XP • Animatronic Encounters |
| Freddy in Space 2 | Gems • Power-Ups • Trophies |
| Security Breach | Faz-Watch • Faz-Cam & Fazerblaster • Collectables • Dufflebag Messages • Monty Golf AR-Cade • Balloon World • Princess Quest • Retro CDs • Glamrock Freddy • Security Mask • Faz-Wrench • Camera Station |
| Other | Easter Eggs • Endings • Fazbear Funtime Service • The Freddy Fazbear Virtual Experience • Freddy and Friends: On Tour |
| Meta Content | Teasers • Achievements • Update Histories • Beta Content • Unused Features • Unused and Cut Content (FNAF Security Breach) |